Instant Pot Mini Yogurt: Batch or Jar? A Beginner's Guide
Yogurt in the Instant Pot Mini 4 Quart
Making yogurt in the Instant Pot Mini 3.8 Litre, 4 Quart is simpler than it seems, but there’s a choice to be made: making it directly in the pot versus fermenting right in the jars. I show you the full method for both in my YouTube video below but here are some key things to know:
Pro tip:
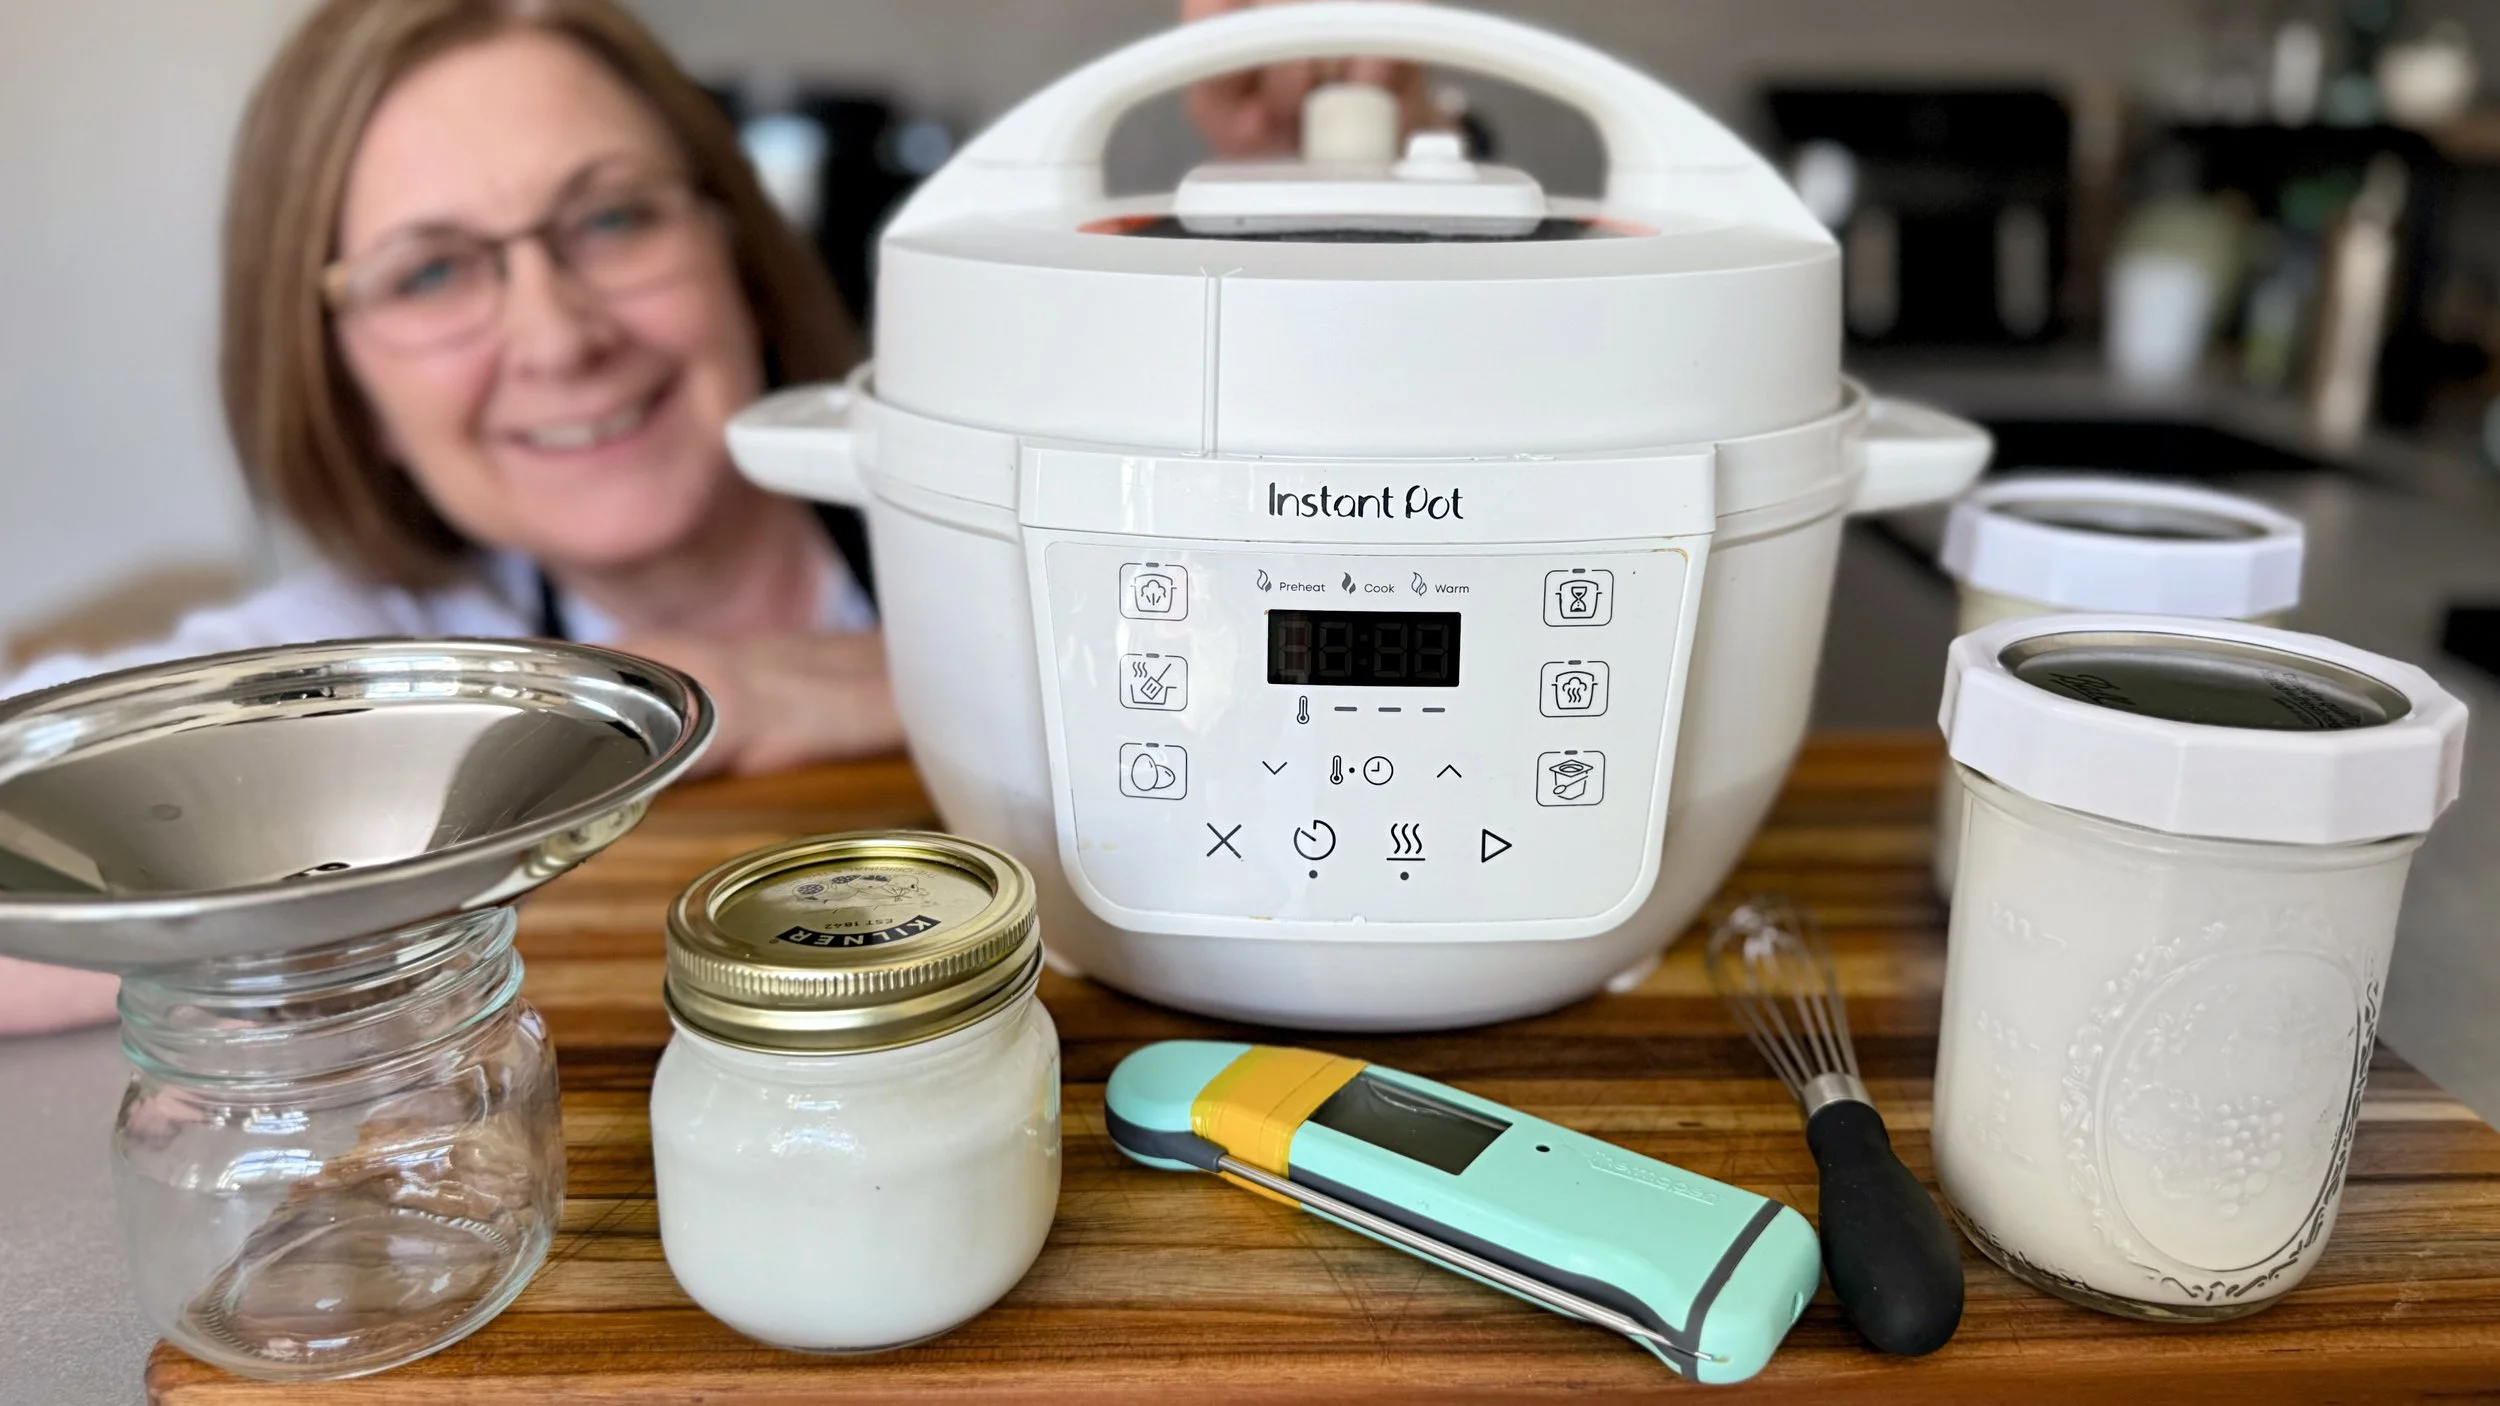
Use a dedicated sealing ring for yogurt to avoid trapping savory smells from other dishes. Many Instant Pots come with two sealing rings but the Mini 4Qt has just one, Instant Pot sells replacement rings in packs of two , often 1 red and 1 blue. I always use my red one for yogurt or other delicate foods.
The Golden Rule
The first step of yogurt making in the Instant Pot is to pasteurise or boil the milk. On the mini this shows as ‘boil’ in the display. As I understand it, this is both for hygiene but also to ensure the milk proteins are in the best ‘shape’ for setting thick yogurt.
The #1 reason yogurt fails is adding the yogurt starter while the milk is still too hot from this boil stage—it kills the live cultures you will be stirring in from your yogurt starter. Always cool to under 43°C (109°F) before stirring in that starter.
Method 1: Batch (In the Pot)
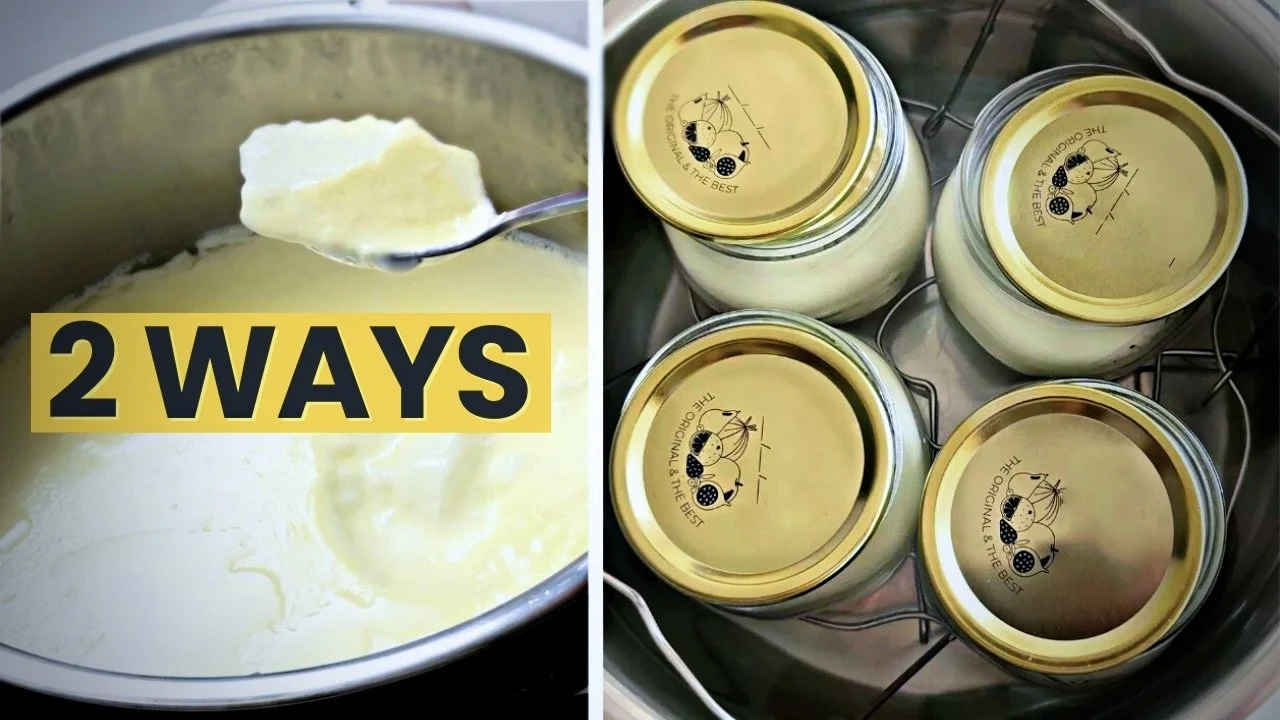
Ferment the whole batch directly in the inner bowl. This is the classic way to make yogurt and is perfect if you want to make a large volume or plan to strain it later for a thick Greek-style consistency.
How it works:
You scald, cool, and ferment the entire litre directly in the stainless steel inner bowl.
The Benefit:
You can make much larger batches than will fit in jars.
The Trade-off:
You'll need to decant the finished yogurt into storage containers or jars once it's done for storage unless you have a big fridge and don’t mind your Instant Pot being ‘blocked’ while your yogurt is in the fridge.
Best for:
Larger batches or ready for Greek-style strained yogurt.
Trade-off:
You generally do need to transfer to containers when done. If you do it overnight as I do, this can be a bit of a stretch first thing in the morning.
Method 2: Jars (ferment direct in the jars)
Pour the cooled milk and starter into small sterilised jars, place on a trivet, and ferment right inside the pot. This is my personal winner! It involves fermenting the yogurt directly in small glass jars placed inside the Instant Pot so no messy decanting first thing in the morning.
How it works:
After cooling the milk and adding the starter, pour the mixture into small jars. Place them on a trivet with a little warm water at the bottom of the pot to create a stable water bath. Add lids on loosely to prevent water dripping into the jars.
The Benefit:
No messy ladling in the morning! Just lift the jars out, tighten the lids, and pop them straight into the fridge.
The Trade-off:
You are limited by the number of jars that can fit inside the Mini 4Qt with this version. You can still make a litre/quart of yogurt but you will need lower height glass jars than the standard pint wide mouth jars many people use for yogurt. Note: you are not boiling these jars so you don’t have to use preserving jars. Just ensure they are clean and sterilised before adding your milk/yogurt mix.
Which Should You Choose?
Pick Batch if you're cooking for a crowd or want thick, strained yogurt. Pick Jar if you want minimal-cleanup mornings.
Watch the full video below for a step-by-step walkthrough of both methods